In the Workshop
The Beech Block
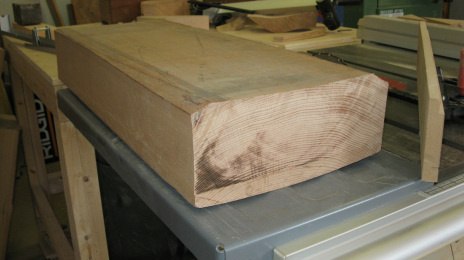
This is how it all begins. Large pieces of beechwood are used. This piece would get cut into a shorter, easier to handle block. It's now time to determine what type of club you would like to make. I have many templates that I have made over the years with different lie angles and dimensions. Once I select the one to use, I focus on the growth rings and determine the best way to take the club head out of the block. This is one of the most exciting steps because it unveils the grain of the club.
First Cut
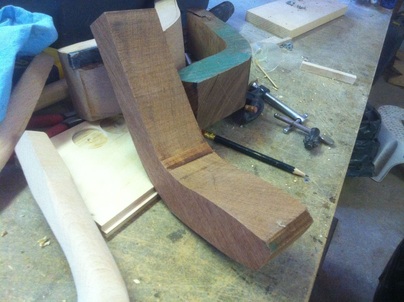
This is what the first cut looks like. At this point I rough in the loft and prepare for the horn slip installation.
Installing the Horn
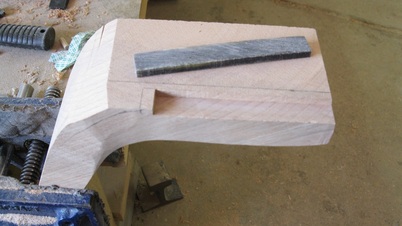
Material is removed from the clubs leading edge to accept the horn slip. Later on, the horn will get 3 dowels to further hold it in place.
The Club takes Shape
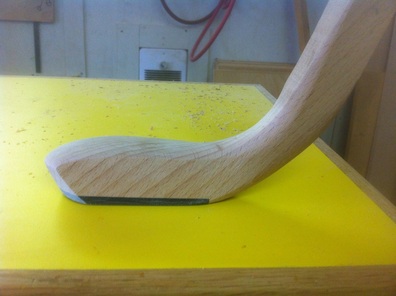
Now the real work begins. Using a template, I trace the pattern on to the top of the club head. This gives it shape from the toe, around the back of the club and up the neck. Using a cabinet scraper, rasps, files, and contour planes, the head and neck are worked down until the look I am going for is achieved. After many hours I will have the club looking the way I want. I will then set it aside for a day and reevaluate it. Personally, I feel your eyes can start playing tricks on you which is why I will leave it alone and do a reset. When I come back to the club I have spent as much as 2 more hours fine tuning it. This is the longest process in the club build.
Cutting the Cavity for Lead
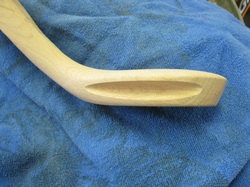
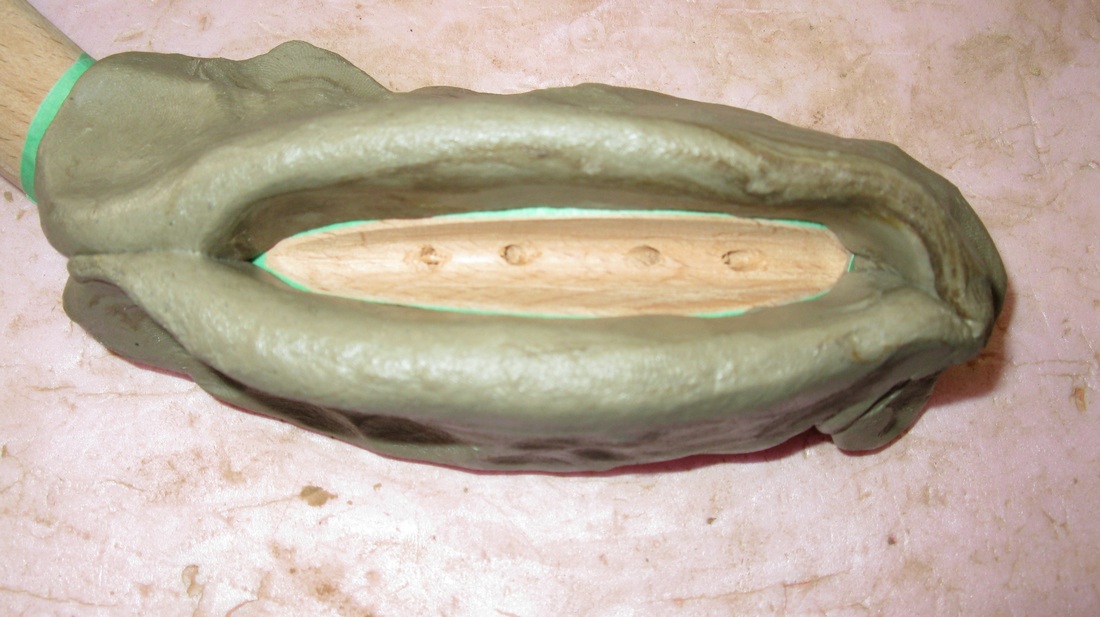
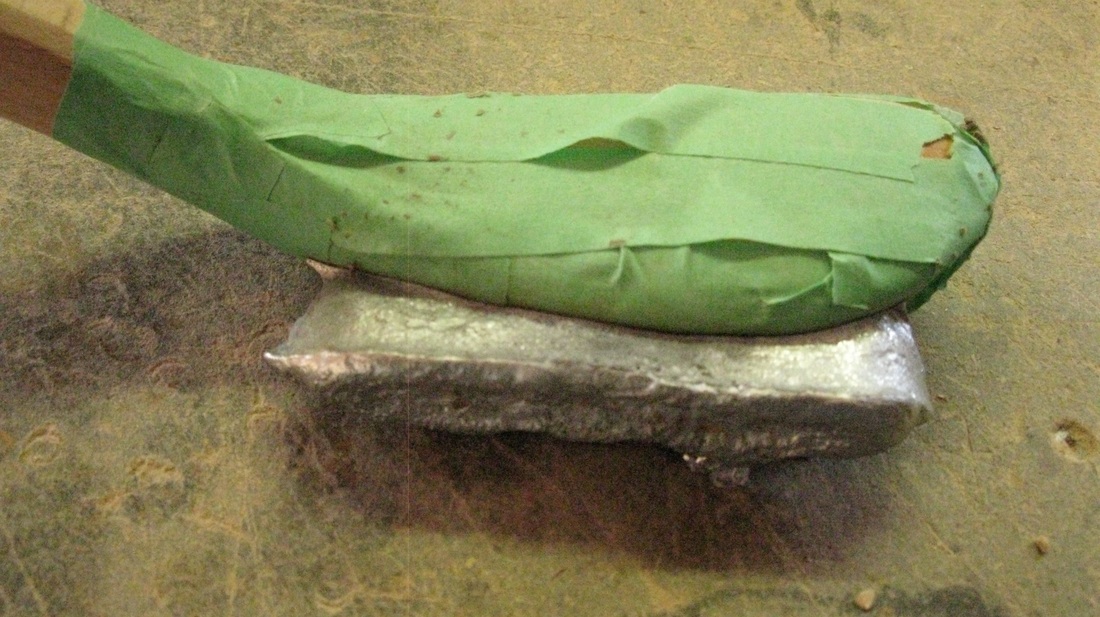
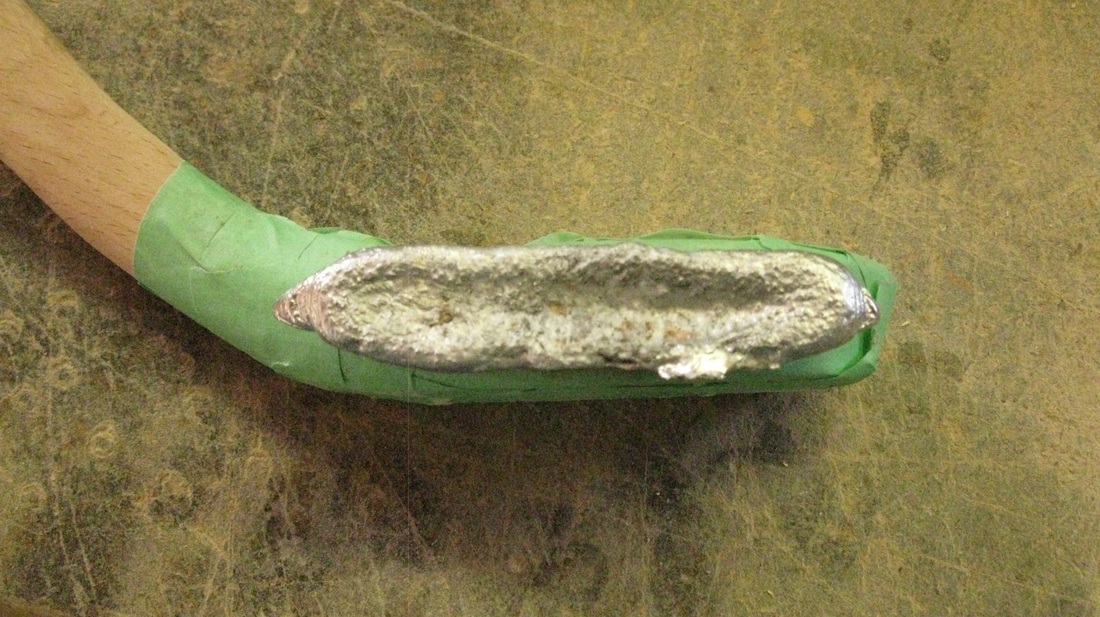
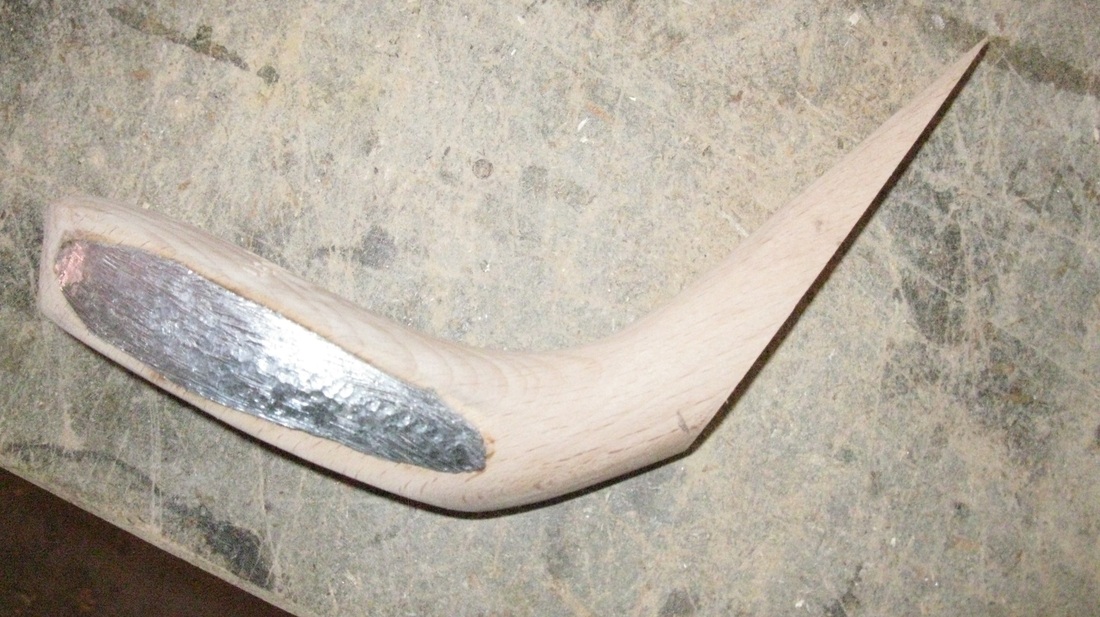
With the club pretty much being finished in terms of its final shape I switch my attention to the lead cavity. Each club requires a certain amount of molten lead to make it playable. It's quite a balancing act trying to get just the right amount of lead in a club. I prefer to pour more lead than I would need, this will allow me to cut off the excess and file down the remainder. If too much lead is added you will often find a V groove filed horizontally in the lead. This can lighten up the head which in turn will bring the swing weight down. When you need to keep every bit of lead you can in a club, there's nothing wrong with having the lead domed and proud of the wood. CAUTION : working with lead has been proven to be hazardous to your health. Good ventilation (if possible outdoors) and protective gear are extremely important. Please do some research before attempting to work with molten or solidified lead.
The Hickory Shaft
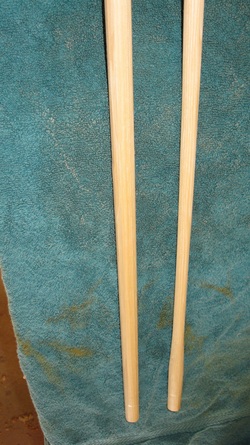
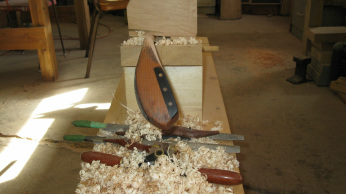
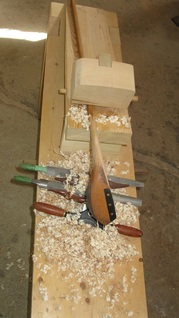
There are a couple of ways to build a hickory shaft. The first that comes to mind is using a lathe. I have been using the same method of shaping shafts as I did 7 years ago, a shaving horse and spokeshave. I mill hickory lumber down until I have a blank which is 3/4" in diameter (shaft on the left). The club then joins me on the shaving horse where it is tapered from the tip to the grip. When this step is complete the shaft is about 90% complete. It is only after the club head is joined to the shaft when you can feel the shaft and it's flexibility. From this point I continue to thin out the shaft until the correct flex is achieved. This is all done by feel. It's my opinion that in the old days a player would adapt his swing to the club.
Mating the Head and Shaft
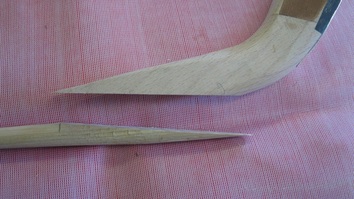
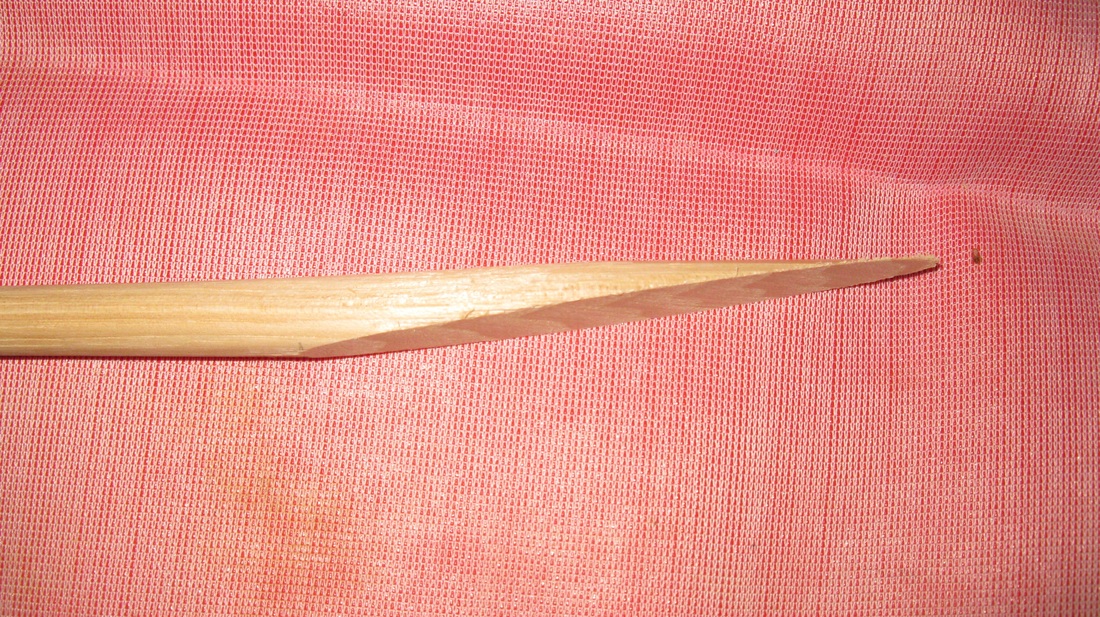
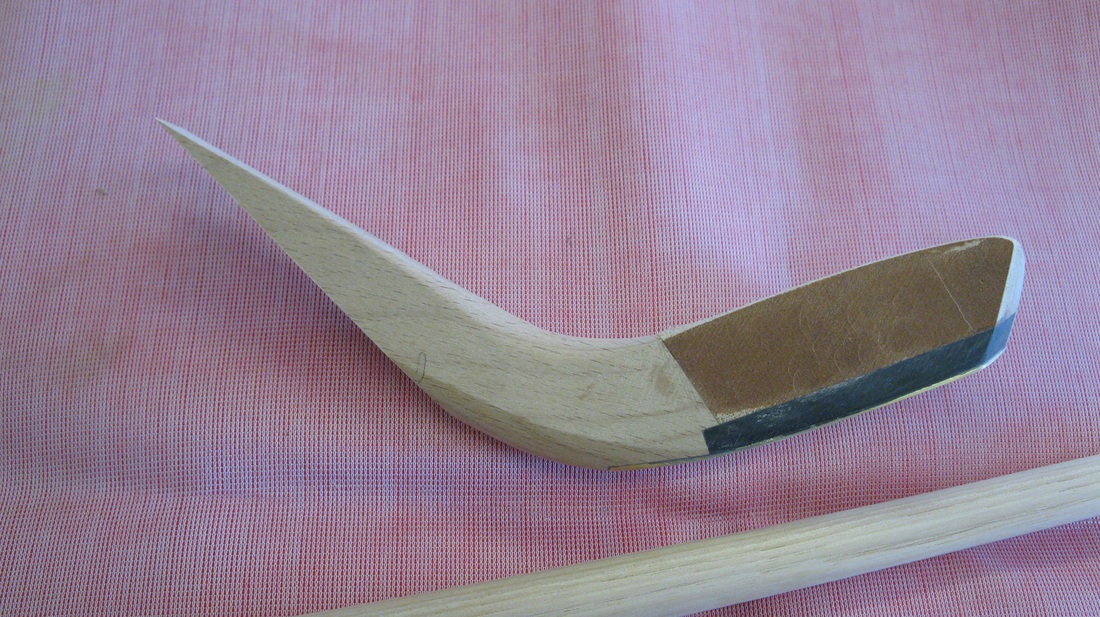
It's now time to join the head to the shaft. This long angular cut is know as a "scare joint". With both cuts complete, it's time for glue and clamping. Both the neck and the tip of the shaft are left on the heavier side for glue up. Once the glue has cured, spokeshaves, files and sandpaper are used to bring the neck to it's final dimensions. This is a delicate process, one in which you are better off creeping up to the final dimension rather than sprinting to the finish.
